Pages

Showing posts with label tips. Show all posts

June 25, 2014

Churros in 10 minutes!

I loved churros con chocolat the first time I tried it. I buy them while strolling at the mall and I didn't realize until a few months ago that it's so easy to make (and cheap too). The cost of the 6-pc churros I used to buy can yield dozens! Definitely saving money with these homemade treats.
Recipe:
1 cup all-purpose flour
2 tbsp white sugar
1/2 tsp salt
1 cup water
2 tbsp vegetable oil

Mix the dry ingredients then add the wet ones. Voila, batter is ready to fry!

Tips:
  • Make sure the oil is hot before actually putting the mix. Wait and watch because you don't want to brown them too much.
  • If you don't have an icing tip, you can use a ziploc bag and just cut the corner to make a 'tip'. You won't have the corrugated effect though but I guess what's important is the taste. ;) 
  • Make the size of the churros a bit fatter than your fingers so you won't only taste the crunchy outside.
  • You can mix the salt last if you prefer a saltier taste.
For the dip, you can melt your favorite plain chocolate then add cream as you like. Serve while it's hot. Eating the churros freshly fried makes a lot of difference! :)

DISCLAIMER
I was not paid in any way to do a review of the product/s mentioned above. Everything was based on my 100% honest opinion.

February 3, 2014

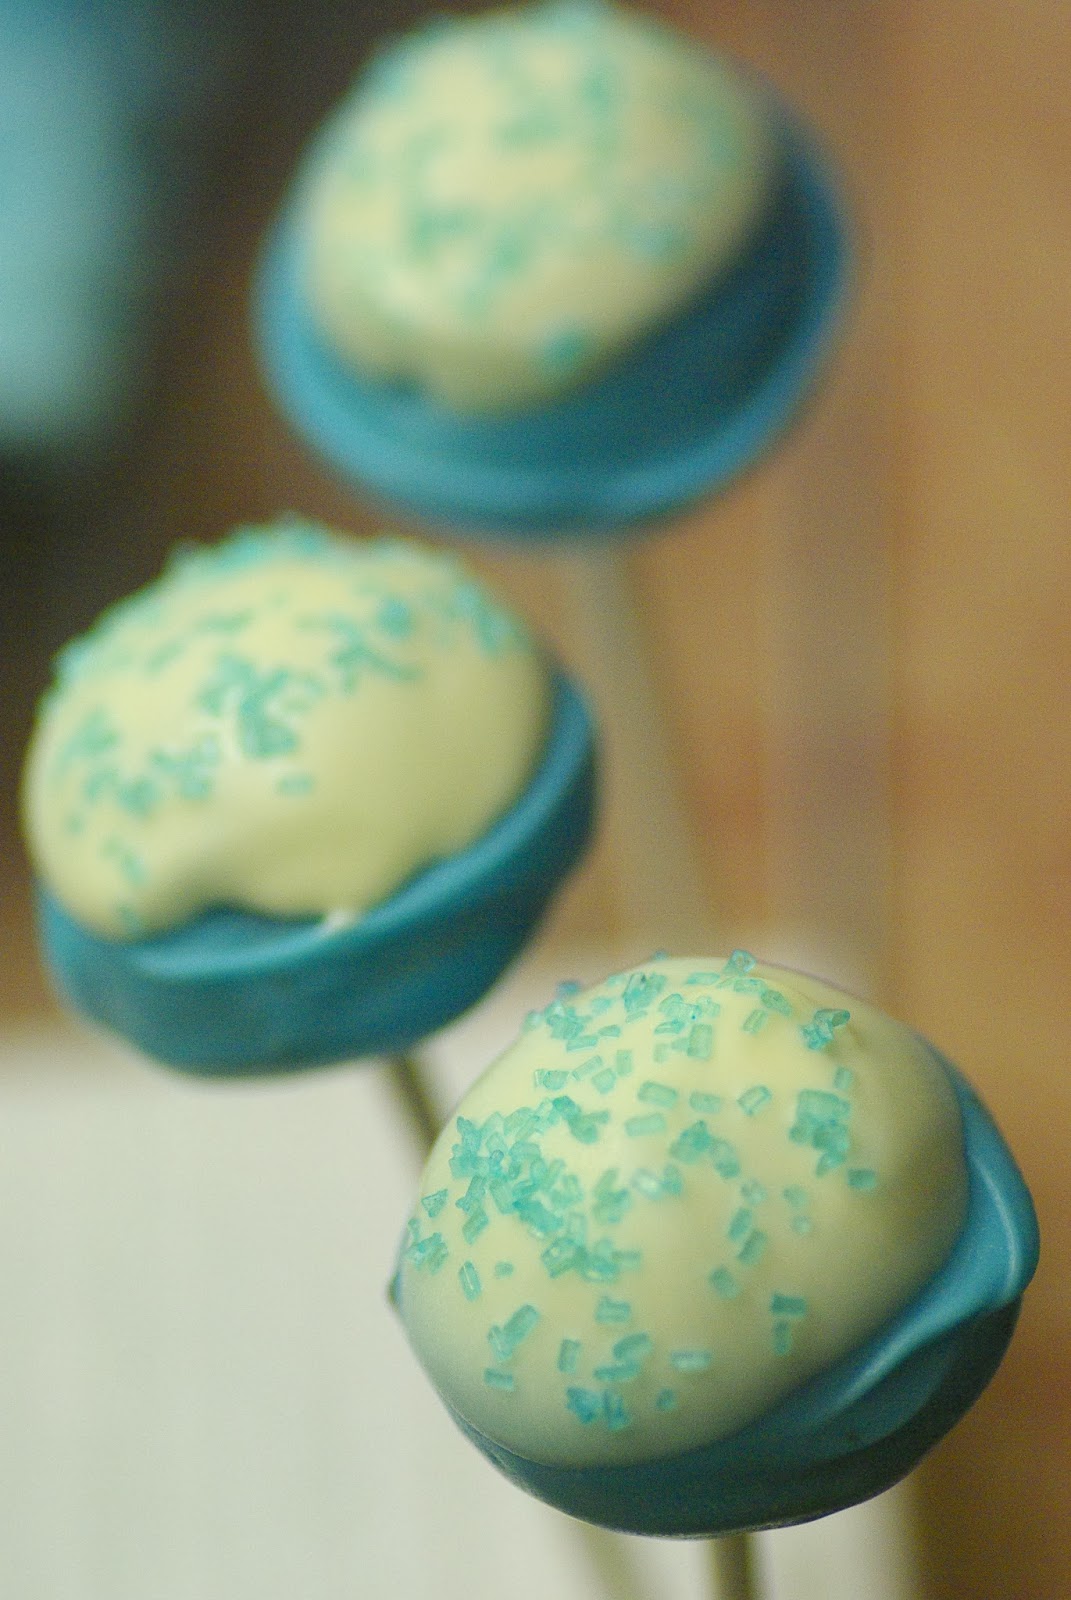
Tips on How to Make Cake Pops

Cake pop is one of the nicest things to serve in a party. Like the regular cake, you can design them in countless ways. This is my second time to make cake pops. The first time I used a ready mix but didn't have a pan so I had to roll it manually. I thought using my hands to make a ball was better or maybe it's just because of the recipe. I got the recipe on the carton of the cake pop pans I bought. I followed the instructions carefully but if you'd look at the batter, it looks sticky and hard, plus, the result was not really round in shape. It looks acceptable in the picture though and this can come handy if you need a to decorate something that is not so round at all - like maybe a whale cake pop?

Ingredients:
3/4 cup Semi-Sweet Chocolate Chips
1/2 cup Butter
3/4 cup Cocoa
2 Eggs
3/4 cup Flour
1/4 tsp Salt
24 lollipop sticks
Chocolates to melt and coat
Assorted sprinkles*

I made 2 batches which was a good thing because I lost 1/3 of them. Some stick on the pan and it was hard to remove so I just had to discard and eat them. At least I get a free taste. Tee-Hee!

Tips in making cake pops:
1) If chocolate melts are included in the recipe, you have to do everything quick because the batter will easily turn hard or sticky.
2) Dip the stick in the melted chocolate before inserting it to the cake pop. To avoid it from falling in the dip.
3) Make sure you have a styro to stick them on after dipping and start in the middle because if you start in the edges or corner, it will fall. Well, that sounds like common sense but I made that mistake. LOL.
4) If trying 2 or more colors, always let the first color dry completely before dipping it again. Else, it will stain the other chocolate's color.
5) Put the sprinkles right after dipping. If you don't they won't stick and you'll have to dip it again to do so.
6) Always remember to put shortening on the pan and dust it with chocolate powder or flour.

Oven to 325F.
 

I am going to try making cake pops again until I find the recipe I really wanted, that is a perfectly round and moist one.

DISCLAIMER
I was not compensated in any way to do a review of the product/s or service/s mentioned above. Everything was based on my 100% honest opinion.


January 21, 2014

My First French Macarons - Success!

I was inspired to bake the famous French Macaron when my friend told me how hard it was to make them. This was my first challenge of the year so I read about some tips on how to make them from different sites. I also watched two Youtube videos demonstrating the steps and I combined what I learned plus I found out my own tips to share with you guys. But, first of all, I wanted to share the recipe I found from howtocookthat.net. To tell you, I only choose recipes with 5-star rating and this one is definitely worth-keeping! Click here to view the complete recipe.

I honestly had a hard time looking for the ingredients because I thought I'd easily find them in store. When I searched for the words "caster" and "pure icing" only did I realize I already have them at home. LOL. You only need four major ingredients to make a macaron:
1) Caster Sugar - I also read they use the term "castor". I was surprised to learn that this is the sugar I have at home - granulated cane sugar. Only this should be extra fine, almost powdery. I do not have the time to buy so I just used our blender to grate/blend/chop it. Though I saw some stores actually offer "Extra Fine Granulate Cane Sugar". Anyway, I just pressed whatever button just to cut it in smaller/finer pieces.
2) Icing Sugar - So this one is also known as powdered or confectioner's sugar! Funny I even asked the store employee if they have such and she said she doesn't have any idea.
3) Almond Meal or Flour - Almost hard to find! They don't have one at Target, Walmart and Safeway. Good thing I went to Weis and found only one brand (Bob's Red Mill Finely Ground Almond Meal/Flour) and it's gluten-free. It's the most expensive flour I've seen! I think I bought a pound for $17.99 and that's excluding tax. Now I know why macarons are expensive as they say. Friends say it costs $3 in the US and Php 60 in the Philippines.
4) Eggs - Needed at room temperature, the older the better.
5) Salt
* Gel Food Coloring - You can use any color you like! Isn't that wonderful? But you better be careful because if you need deeper shades, it might affect the batter's consistency.
Use non-stick flat parchment paper.
 
Let it sit for at least an hour.

The first batch I baked was good for a first-timer.

I still have to work on a few breaks in my foot.

The browning is normal because if not, it's going to stick in the paper. Watch them carefully even before it's done because every minute is crucial to these sensitive cookies!

The next batch, I almost burnt them, isn't that weird? It's because I used the same pans I put in the oven the first time. It didn't have time to totally cool off. So do not do that.

For more tips, head over to joyofbaking.com and howtocookthat.net

French macarons they say are the hardest cookies to bake. For me, they're just sensitive and it's lengthly especially if you don't have a good stand-alone mixer. Imagine I only used a hand-mixer, I already finished an episode of Charmed and I am still not done mixing! These times I wish I had a Kitchen-Aid mixer or at least borrowed one.

Anyway, until my next try of these cookies! I'd like to make red and black. :)

DISCLAIMER
I was not compensated in any way to do a review of the product/s or service/s mentioned above. Everything was based on my 100% honest opinion.